Artisan Shop
Photoshoot
Photoshoot Guide
Artisan Shop
Photoshoot
Photoshoot Guide
Some tips to improve your shoe photography
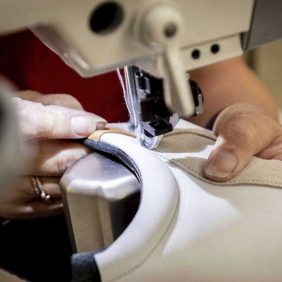
Product images are one of the determining factors that attract consumers to clickwhen consumers can not physically touch and inspect the shoes. The K family factory records the process from design drawings to complete handmade shoe forming, and can also provide you with exquisite product pictures. How can I effectively create stunning product photography?The K Family Factory provides you with the following shoe shooting tutorials.


PLANNING
Preparing for your footwear photo shoot and completing a successful one requires a lot more than just putting your chosen pair of shoes on a set and then taking some decent photos. Having a shooting plan can help you finish the shoe shooting more efficiently.
Tips one-Determine your subject
What shoes need to be photographed?What colors do the shoes come in?What size do you want to display?Not only will you be more focused on your target, but you will also be able to avoid missing something important along the way.
Tips two-Schedule you time
Work efficiency can be maximized in a limited amount of time. Plan out how much time you will spend on each step to avoid unnecessary waste. Time is money and in the fashion e-commerce space that cannot be more true.
Tips three-Prepare in advance
Get your shoes in pristine condition before you even start shooting. That will not only help you produce stunning pictures faster but it will also save you valuable time in post production.
In order to avoid more unnecessary work for yourself while you are shooting, simply make sure you have all the necessary equipment for cleaning your shoes and for showcasing their best shape.
Those items could include:
- Brushes
- Cloths for polishing
- Scissors
- Materials like tissue or paper for stuffing
- Chopsticks to straighten shoes like flats e.g.
- Canned air (for a final touch)
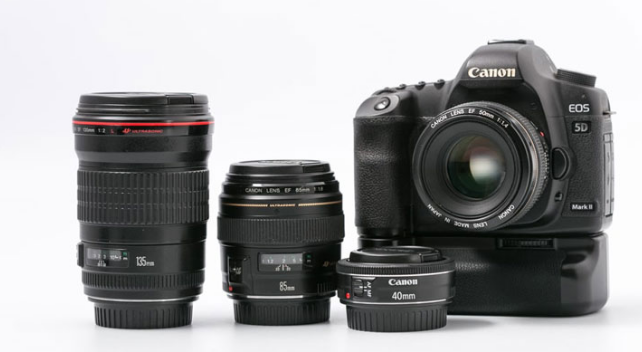
Tips four-Suitable photographic equipment
The lens you pick should not distort your product. To avoid that, make sure you are on a decent f stop to get everything in focus that you want to get in focus. That will also affect your depth of field.
Specifically: choose a lens of about 15mm or above so you do not distort the look of the shoe. Make sure you are not changing the shape of the shoe by the lens you’ve chosen. Wide angle lenses tend to distort the product.
Another important factor to keep in mind: by putting your camera on a tripod, you can choose any shutter speed that you like. That will help you reduce the ISO so you don’t get a noisy picture, and instead, you end up with a nice clean image that has good sharpness overall. Because you’ve chosen a good f stop and as your camera’s on a tripod, the shutter speed won’t matter.

SHOOTING
In addition to the right camera and lens, creative product presentations require a lot more photography skills to realize what we have in mind.If you are fresher in this field then you will face some difficulties.Therefore, the K Family Factory has some very useful tips for you to follow.
Tips five-Background selection
Background plays an important role in any image and this is among the most important shoe photography tips. Especially, when it comes to taking shoe photographs. It is important to select a well-matched background.
Busy backgrounds can steal the attention and hide the actual product which needs to stand out. Alternatively, the pure color background will not overpower the color of the shoes and will create a great contrast. Try to choose a neutral background that will let your product come into the limelight. Therefore ,in indoor shooting, white background is most suited for product photography.
Moreover, unlike indoor shots, the outdoor location is the best way to get natural lighting to show the reality of the shoes.It is one of the important ways for consumers to understand the appearance of shoes.
Tips six–Lightcorrectly
While shooting indoors, the shoe on over shiny surface will create a reflection shadow creating a disturbance for product image. You need to add some white cart or white reflector to keep the contact shadow at the bottom of the shoe. Notably, do not create harsh lighting as it can degrade the quality of the shoe images to an extreme level. Use soft light for the best results.
Tips seven-Shooting angle changes
For a more comprehensive display of the details of the shoes, it is not enough to shoot from a single Angle. We need to try to capture the image of the shoes from different angles. Creative angles often don not apply to all shoes. Choosing a few key angles can really help your footwear photography.
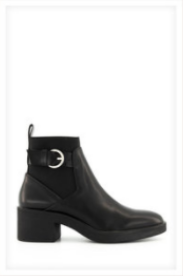

The single angle shot
Take it from the side. Photograph only one shoe from the side so you end up with a profile shot.
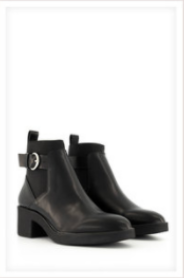

The ¾ shot
Add the second shoe in the photo as well. Turn the pair of shoes slightly to the side. Focus on the first shoe and then take the shot.
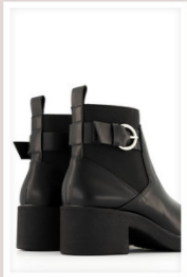

Back ¾ shot
This is a detailed shot – focus on the front shoe. All shoe elements should be looking nice and neat so make sure to clean them in advance. You’re aiming for polished.
Front angle shot
Put the pair of shoes in one place and shoot them from the front. Focus on the first shoe.
Tips eight-Composition design
In the same standardized shooting, not only focus on the shoes themselves, more information is needed to increase the charm of the shoes.The rich composition of product pictures helps the shoes to be more narrative than just shoes.The following designs can provide you with ideas.
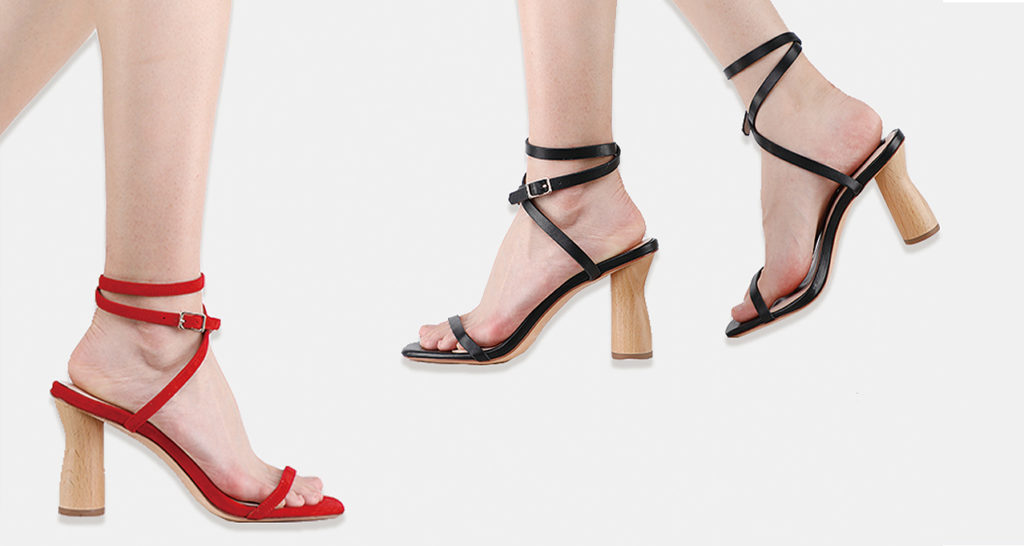

Using models for shoe photography
- Only shoot the legs of the model but mind it, don’t need to shoot the whole body of the model.
- For the photos, you need to choose thin legs models.
- Shoot photos with various movements like walking, jumping, dancing, etc
- The outfit of the model will suit the color set of the shoes.
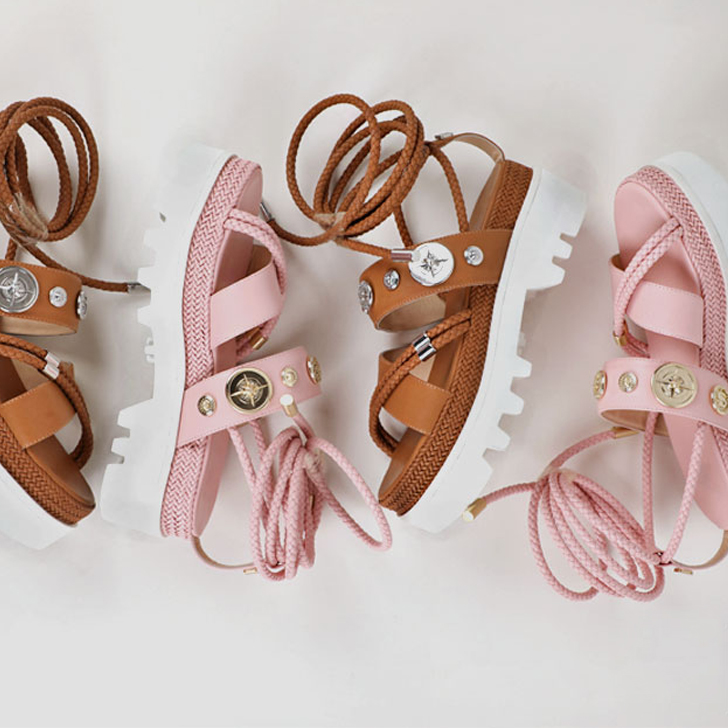

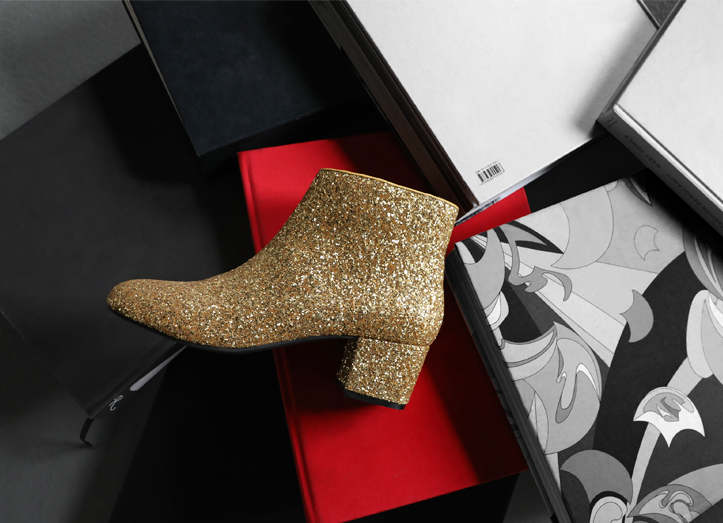
Flat lay of shoe photography
- Place the essential components on an invisible 3×3 grid on the grid lines of the third rule.
- Vertical shots are perfect for flat lay images.
- Select 2-3 colors to match. This leads to a consistent theme for your image.
- Choose a pleasant background, like an appropriate white one, or a wood floor, a desk, or a table, based on your subject.
- Make your painting more interesting and use white space.
- Avoid using an elevated-performance lamp to enhance the image.

Context
- Attempt to use lifestyle images on white background only to attach to the original studio pictures either.
- Just make sure the shoes represent the season while shooting outside.
- never use your shoe color as a background.
- For a classic effect, you can use simple paper backdrops and acrylic for a polished look.
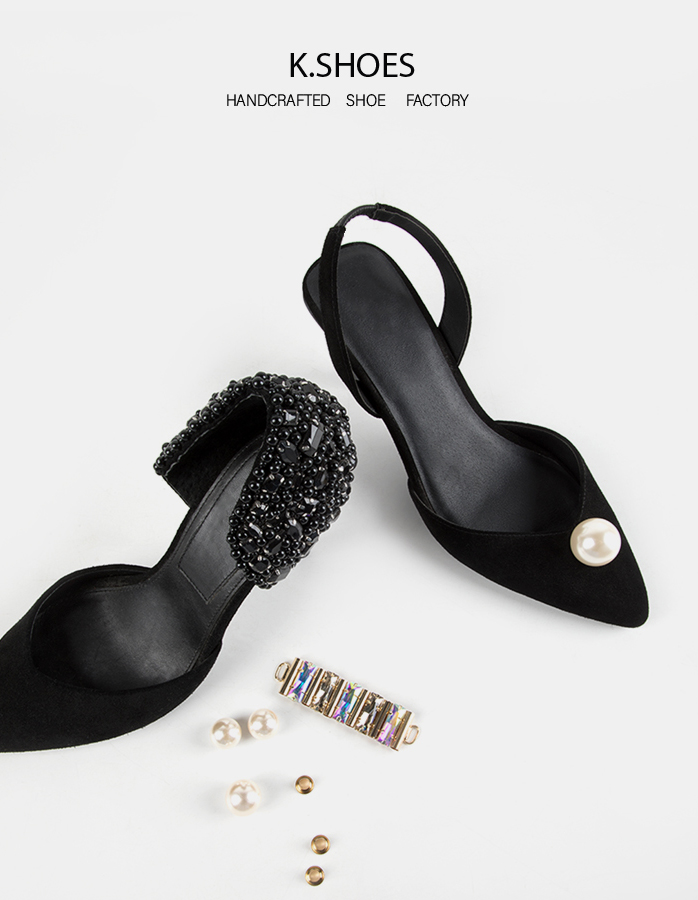

Floating shoe photography
- Make sure you use a higher aperture on your DSLR lens in order to focus on all aspects of your shoes.
- After that use various set up for conflicting purposes.
- you don’t need to use blurry and smooth focus.
- Use high transparency to remain focused also.

RETOUCHING
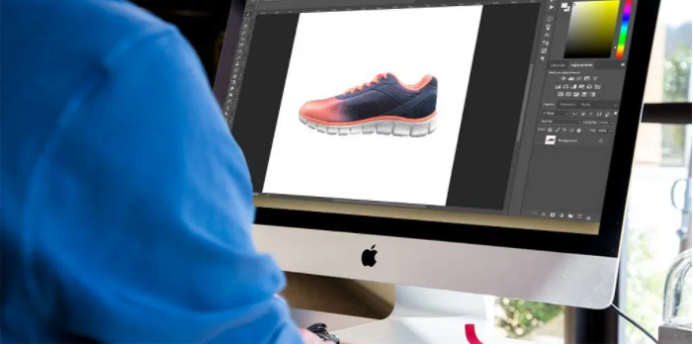
After shooting, there was still work to be done.Some necessary post-processing, cropping and retouching to give the product images a fresh look.For example, eliminate all the flaws in your image in order to get a perfect shoe image.Ensure that you do not erase the natural shadow formed adjacent to the shoe while image editing.Shadows give a realistic and practical feel.
A attractive product image is an important part of successful marketing.This requires not only creativity but also skill.A rigorous shooting schedule, flexible test angles and lighting settings, colorful backgrounds for creativity, and just the right amount of embellishing are all necessary to help the shoes get clicked.K family factory rich shooting experience and superb retouching technology for you to break this dilemma, with the fastest speed to upload the new collections.

